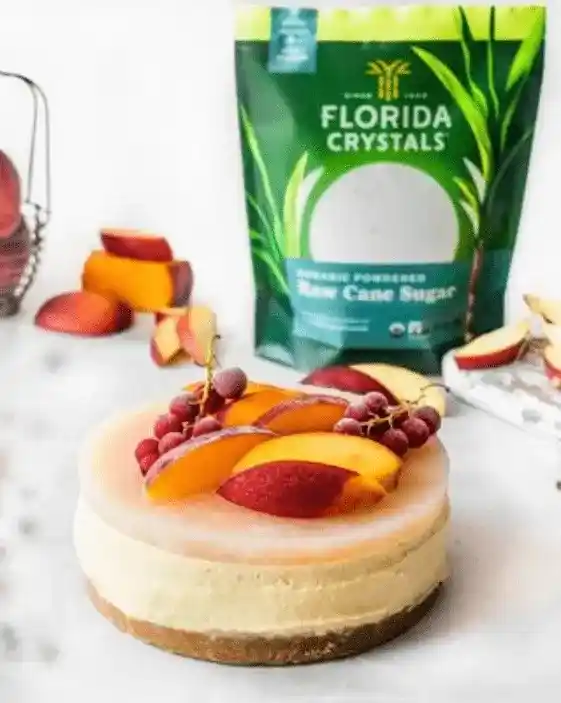
Vegan Coconut Cream Pie


Prep Time
20 minutes
Bake Time
35 minutes
Yields
10 servings

Meet the Chef: Britt Berlin
Britt is the creator, recipe developer, and photographer behind The Banana Diaries, as well as an avid cake lover, runner, cat mama, and cookbook author. Britt specializes in transforming traditional baking techniques into vegan ones. Her favorite creations include vegan chocolate cake, vegan cheesecake, and of course, vegan chocolate chip cookies!
Ingredients
For the Vegan Pie Crust
- 1 ½ cups (200 g) all purpose or gluten-free 1:1 baking flour
- 1 tbsp arrowroot starch
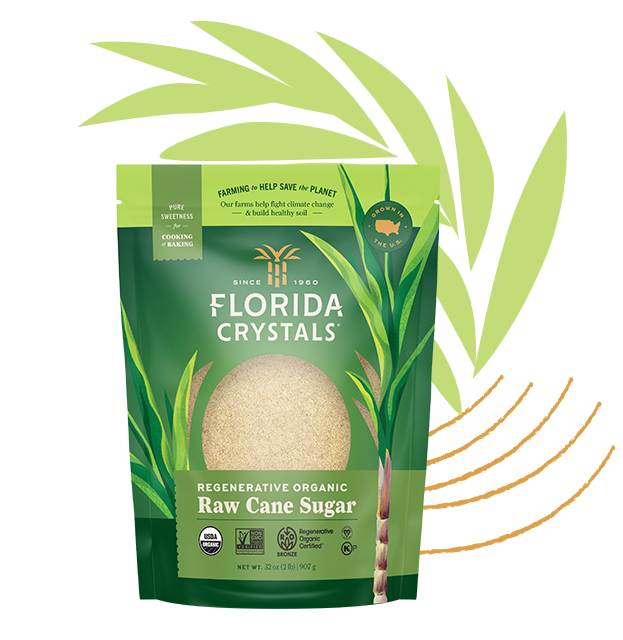
- 1 tbsp Florida Crystals® Regenerative Organic Raw Cane Sugar
- 8 tbsp (113 g) + 1 tbsp salted vegan butter, frozen and cubed, divided
- 5-8 tbsp chilled water
For the Vegan Coconut Cream Pie Filling
- ½ cup (110 mL) aquafaba
- 3 tbsp chickpea flour
- ¼ cup (30 g) arrowroot starch
- 1 can (13.5 oz) coconut cream
- 1 cup (240 mL) full fat coconut milk
- ¾ cup (150 g) Florida Crystals® Regenerative Organic Raw Cane Sugar
- 1 cup (80 g) unsweetened shredded coconut
- 2 tbsp salted vegan butter, room temperature
- 2 tsp vanilla extract
For the Vegan Whipped Cream
- ½ cup (110 mL) aquafaba
- 1 tsp cream of tartar
- ½ cup (100 g) Florida Crystals® Regenerative Organic Raw Cane Sugar
- ⅓ cup toasted coconut flakes, for topping
Instructions
Pie Crust
Step 1
Start by whisking together the flour, sugar, and arrowroot starch. Add in the cubed and frozen 8 tablespoons (113 g) vegan butter, and either use a pastry cutter or your hands to cut the vegan butter into the flour. The flour and butter should be about pea sized.
Step 2
Add in the chilled water, starting with just 5 tablespoons. Use a fork to mix the dough until you reach a shaggy consistency. You can add the remaining tablespoons, one at a time, if the flour is not fully absorbing into the dough.
Step 3
Lightly knead the dough against the side of the bowl to create a dough ball, being careful not to overwork the dough. Press the dough into a round disk and wrap it tightly in plastic wrap or parchment paper. Store in the fridge for 1 hour.
Step 4
Laminate the pie crust: After chilling the dough, lightly flour a clean surface and a rolling pin. Place the dough into the center of the floured surface. Roll the dough lengthwise to create a rectangle. Use a pastry brush to brush off the flour on top, then fold the dough into a square. This is the first lamination. Turn the dough 45 degrees either way and repeat, rolling it into a rectangle and folding again. Repeat two more times for a total of 4 times.
Step 5
Then roll the dough out to be 12” in diameter, picking up the disk every few rolls to ensure it’s not sticking to the surface. Carefully place the dough into your pie dish, and gently press the dough against the sides of the dish, being careful not to stretch the dough.
Step 6
Fold the edges of the pie dough underneath and crimp the edges of the pie dough however you’d like (pressing the thumb between your index and middle knuckles helps to create a classic pie crimping). Place the pie crust into the freezer to chill as you preheat the oven to 425F. Once the oven is preheated, remove the pie crust from the freezer.
Step 7
Poke a few holes into the bottom of the pie crust and place a piece of parchment paper down into the center of the crust. Add the pie weights* to the center of the crust. Brush the edges with 1 tablespoon of melted and cooled vegan butter. Place the pie crust into the oven to bake for 15 minutes.
Step 8
Remove the crust from the oven and remove the pie weights. Place the crust back into the oven to bake for 5-7 minutes or until the edges are golden. Then remove the crust from the oven to cool as you prepare the coconut cream pie filling.
Coconut Cream Pie Filling
Step 1
Whisk together the aquafaba, chickpea flour, and arrowroot starch in a small bowl together. Set aside.
Step 2
Add the coconut cream, coconut milk, and sugar to a medium saucepan, and whisk together. Turn the stovetop heat to medium-high and allow the mixture to come to a boil. Once boiling, reduce the heat to low, and as you whisk, pour in the chickpea flour mixture.
Step 3
Continue to whisk the mixture on low heat until it thickens to a pudding consistency, about 7 minutes. Once thickened, add in the coconut shreds, vegan butter and vanilla extract. Whisk until evenly distributed throughout the coconut cream mixture.
Step 4
Pour the coconut cream filling into the baked pie crust and place the pie into the fridge to set for 6+ hours, but ideally overnight.
Whipped Cream
Step 1
Once the pie is set, add the aquafaba and cream of tartar to a large bowl or a stand mixer with whisk attachment. Mix the aquafaba on high speed until foamy, then begin to add in 1 spoonful at a time of sugar as you continue to beat the aquafaba mixture. It will begin to fluff up and create stiff peaks.
Step 2
Once the stiff peaks are achieved (about 10 minutes), you can spoon the whipped cream on top of the coconut cream pie. Top with toasted coconut flakes. Slice the coconut cream pie and serve cold.
Additional Tips
Store any leftover slices in an airtight container and in the fridge for up to 4 days.
Gluten-free: For a gluten-free coconut cream pie, please swap in gluten-free 1:1 baking flour (one that contains xanthan gum) at an equal ratio to the all-purpose flour.
Pie weights: If you don’t have pie weights, you can use dried rice, beans, or flour.
YOU CAN ALSO TRULY NOTICE A DIFFERENCE IN THE BAKED GOODS WHEN CHOOSING FLORIDA CRYSTALS® VS. ANOTHER BRAND.
- THE BANANA DIARIES, BRAND PARTNER
Download Recipe Calendar
Sign-up to receive a recipe calendar along with baking tips, giveaways, discounts, special offers, and more.

RECOMMENDED FOR YOU
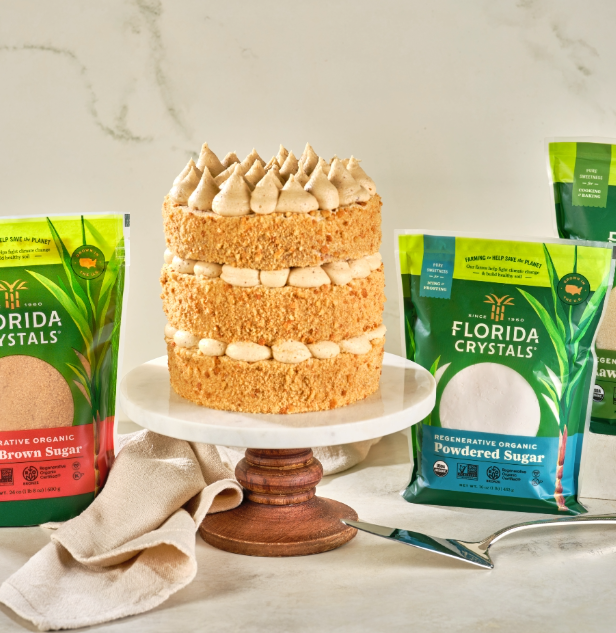
Get Regenerative Organic Certified® Sweetness
Our ROC™ sugars are available at a retailer near you, and at a price that feels right!
BAKING TIPS FOR YOU
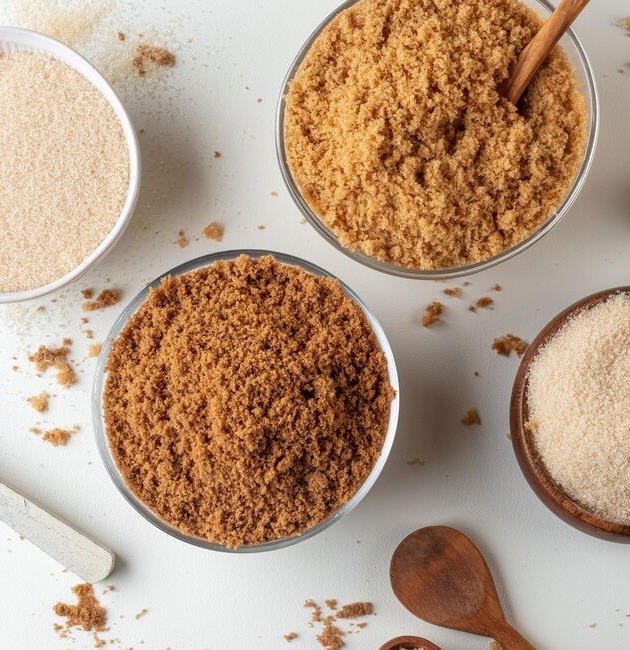
How To Choose The Right Type Of Sugar
Every sugar has its purpose in baking. Learn which sugar you should use to achieve your perfect baked good.

BAKING TIPS FOR YOU
How to Avoid Common Baking Mistakes
Whether you're a seasoned pro or just dipping your whisk into the world of baking, trust us, we've all been there! These tips will help conquer those common slip-ups and make sure your treats are a hit every time.
BAKING TIPS FOR YOU
Organic Baking Guide
Bake with purpose, bake organically. Let your kitchen be a place where conscientious choices and delectable flavors harmonize. Find the best recipes to start your organic baking journey.

BAKING TIPS FOR YOU
Tweak your recipes to fit special-diets
Allergies and personal preferences don’t have to limit the options on your table! Try these tips and convert your favorite recipes to gluten-free, dairy-free and vegan.
FROM OUR KITCHEN TO YOURS
Taste the Goodness In these Classics
Download Recipe Calendar
Sign-up to receive a recipe calendar along with baking tips, giveaways, discounts, special offers, and more.